
Appearance
Create a workspace
A workspace is one company's copy of CNV Connect: its people, its attendance rules, its tickets, its data. If you were invited by a colleague you do not need this page — follow the invitation link instead, or read Sign in.
Address https://hub.cnvconnect.com/signup
You need an e-mail address you can open right now, and a phone that can receive a code
Result a new workspace on the Free plan, with you as its owner
The sign-up screen
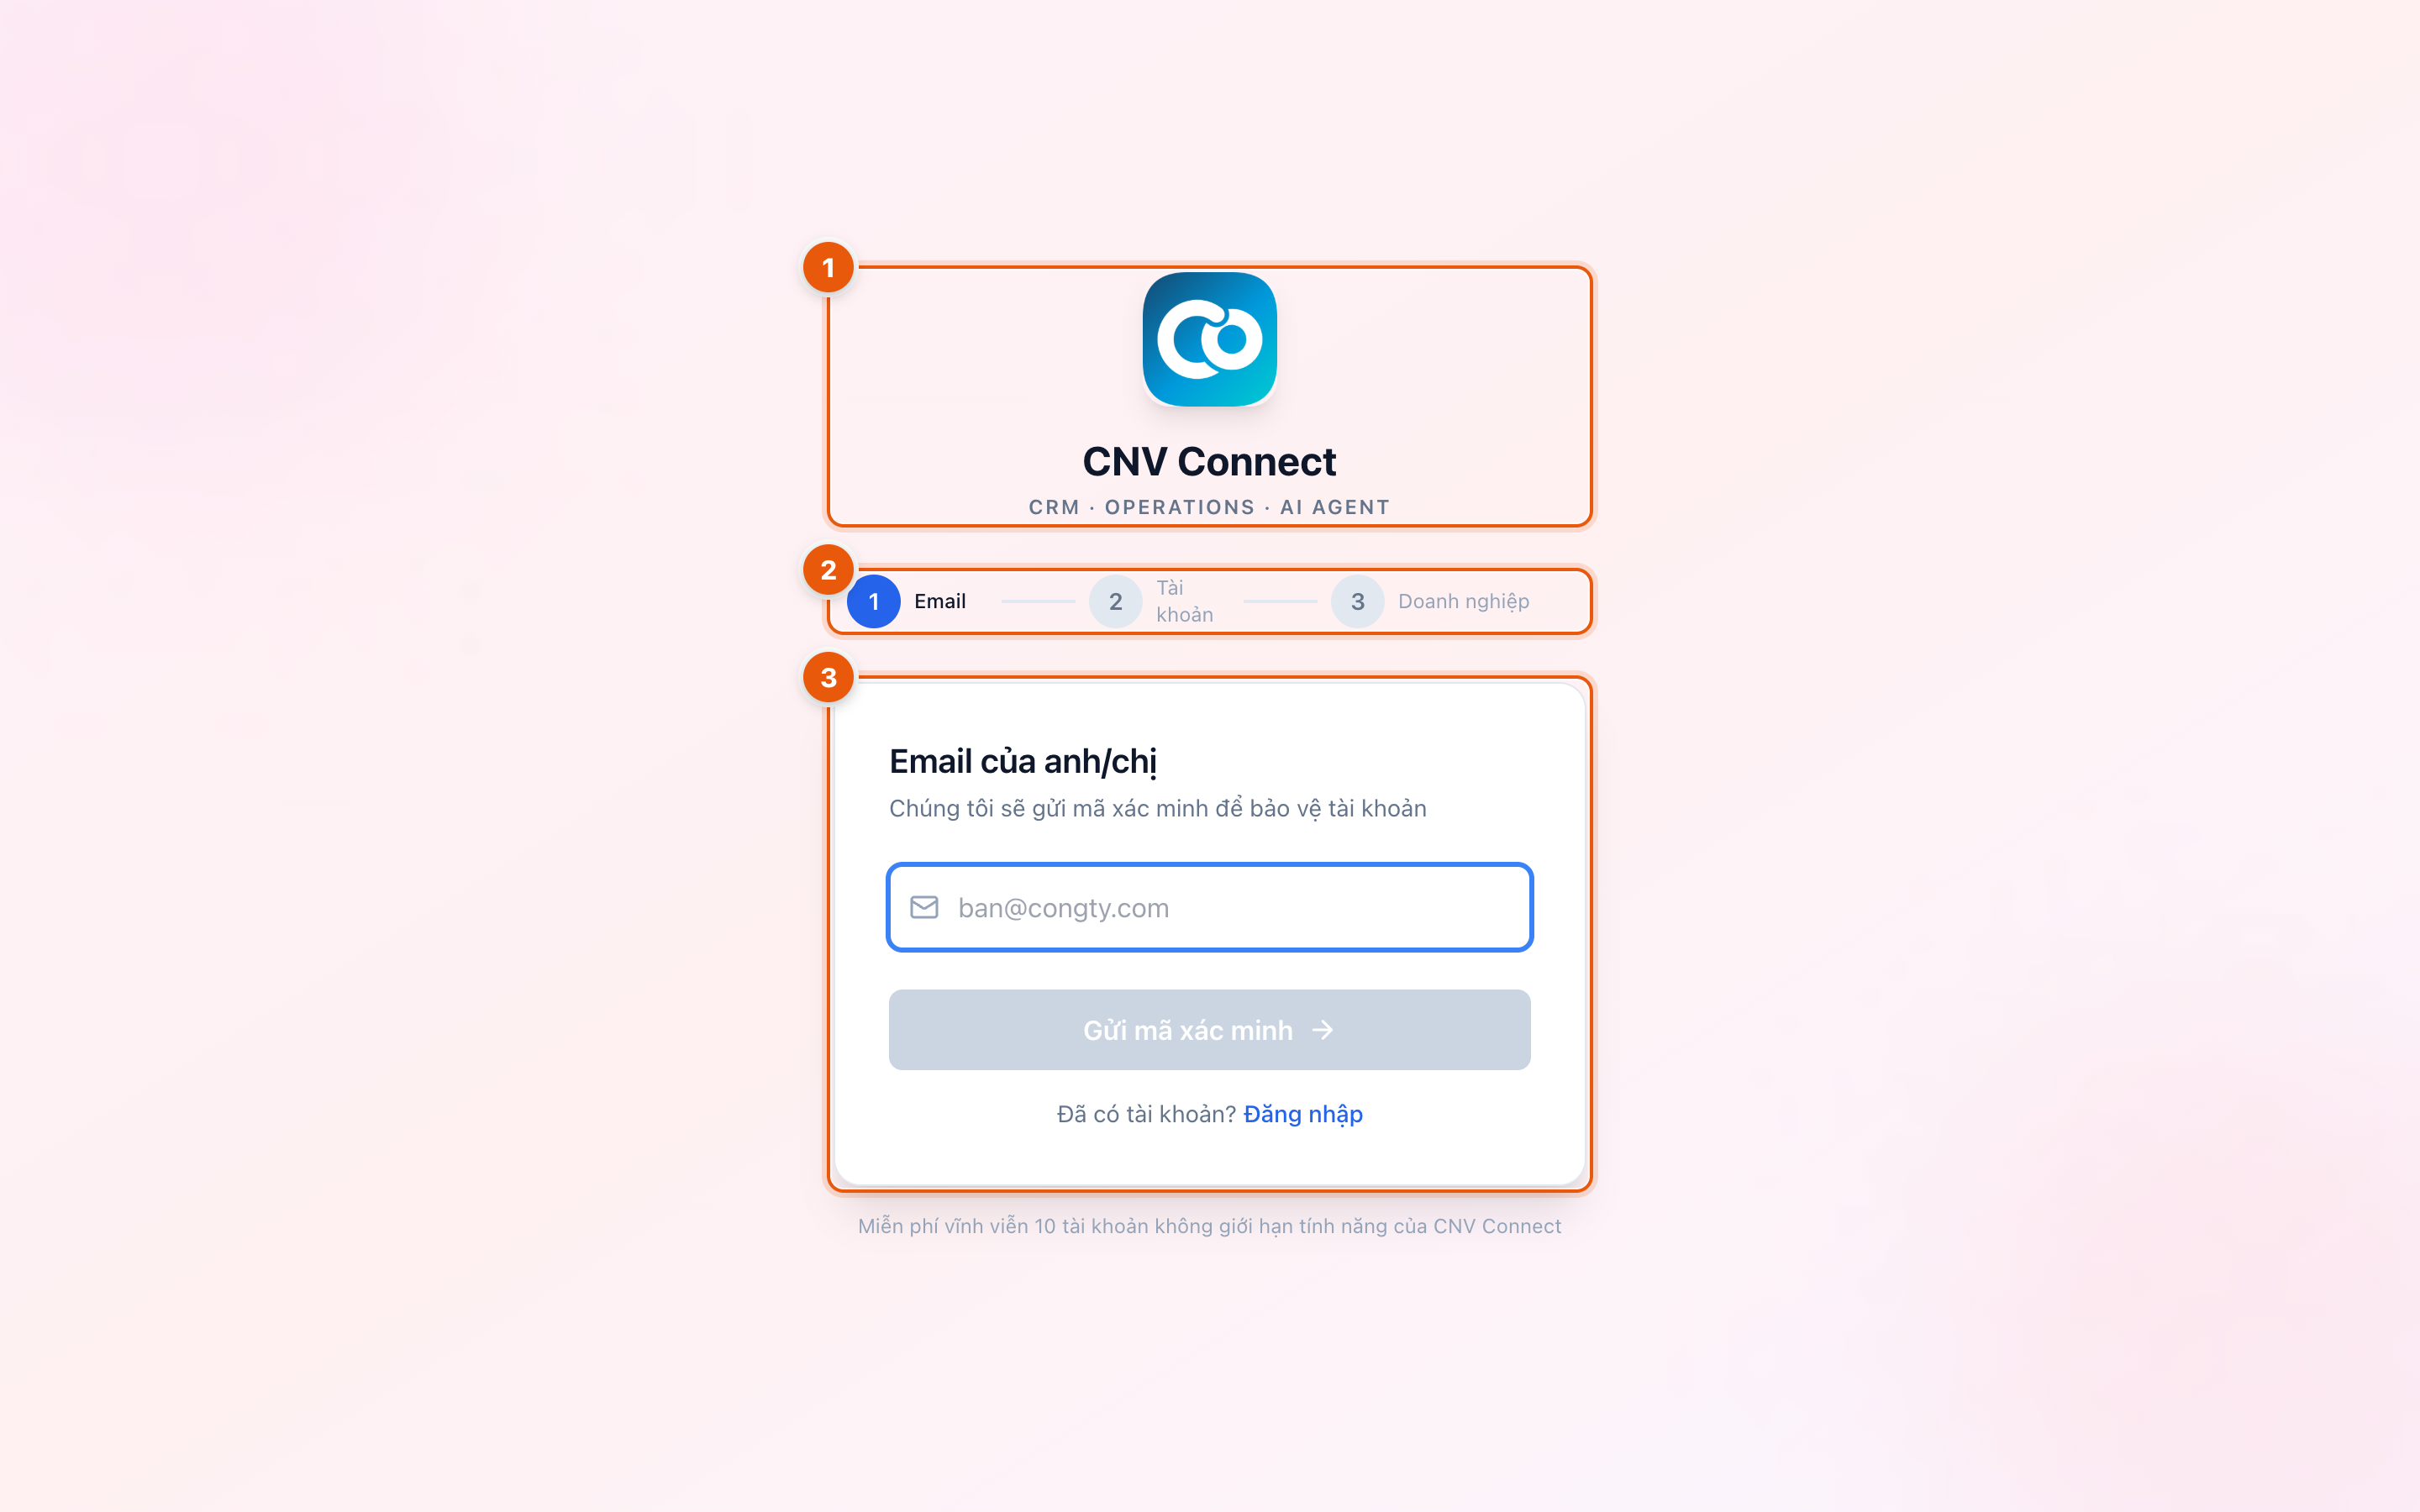
- Product name — you are creating a workspace on CNV Connect, not signing in to one.
- Progress — the three steps: e-mail, your account, your company.
- Step 1 — your e-mail address. A six-digit verification code is sent to it.
Sign-up runs in three steps. The progress indicator at the top shows where you are.
The sign-up screens are not translated yet
Labels, prompts and example values on sign-up still appear in Vietnamese. The three steps are the ones described below, in the same order.
Step 1 — Verify your e-mail
- Enter your work e-mail and select Continue.
- A six-digit code arrives by e-mail. Type it into the code box. The code is short-lived; use Resend if the countdown runs out.
- The e-mail link in that message also works — opening it verifies the address and takes you straight to step 2.
Step 2 — Your account
Fill in:
| Field | Notes |
|---|---|
| Display name | How colleagues will see you across the workspace |
| Password | At least 8 characters |
| Phone | Verified with a second six-digit code sent by SMS |
Step 3 — Your company
Enter the company name. That name becomes the workspace name shown in the top-left corner, and a short code (the slug) is derived from it for addresses and support references.
When you finish, the workspace is created and you are signed in as its owner. A short "setting up" screen appears while chat, storage and default templates are provisioned.
What you get on day one
- The Free plan: 10 user seats, no expiry date, with every feature switched on.
- A set of ready-made approval templates (leave, overtime, expense claim, business trip).
- A general chat room that every member joins automatically.
- Empty employee, ticket, task and asset lists — waiting for your data.
What to do next
- Invite your colleagues — each accepted invitation uses one seat.
- Create teams so reports and approvals can follow your real structure.
- Set up shifts and work locations before anyone clocks in.
- Review General settings — company name, logo, time zone, working week.
One person, several workspaces
The same e-mail address can own or belong to more than one workspace. After signing in you choose which one to open — see Switching workspaces.
Signing up does not join an existing company
Creating a workspace from this screen makes a brand new, empty one. If your colleagues already use CNV Connect, ask them to invite your address instead — otherwise you end up with an empty workspace of your own and no access to theirs.